Back in the Fall, we purchased a new mattress with an adjustable reclining base. Oh, how I love the recline feature! But what I didn't realize was that a traditional bed skirt that lays between the mattress and box spring wouldn't work. Because the top of the base reclines, so too does the dust ruffle on the skirt. Skirts for this style of bed can have a hefty price tag so instead, I modified a standard bed skirt into a no-sew tailored bed skirt for an adjustable bed.

No Sew Tailored Bed Skirt For Adjustable Reclining Beds

No Sew Tailored Bed Skirt For Adjustable Beds

Not only did I save a lot of money but it took less than thirty minutes to make with no sewing machine required. But what I also love about this modified bed skirt is that when it's time to wash it, you don't have to lift a heavy mattress to take it off. Reclining bed or not, what's not to love about that?

Adjustable Bed No Sew Tailored Bed Skirt

The bed's been skirtless since last Fall because getting to this project kept being put on the back burner. When I learned that this months challenge for my friends and I in the Int'l Bloggers Club was creating a project with silk or linen, it was just the motivation I needed to finally cover our naked bed.

If you're new here and haven't heard of the International Bloggers Club, we are a group of friends from around the globe who come together every month to share a themed DIY project. Links to my friend's silk or linen projects are included at the bottom of this post.

Last month the theme was leather where I breathed new life into a curvy thrift store footstool with a gorgeous embossed leather hide.

This is the modified tailored bed skirt with the adjustable base in the flat position.

Adjustable Bed No Sew Tailored Skirt With Bed Flat

And here it is with the adjustable base at a recline. See how the modified bed skirt doesn't move with the base?

Adjustable Bed No Sew Tailored Skirt With Bed Reclined

One of the reasons we purchased the adjustable bed is so it can be kept at a slight incline because both Mr. Frugalista and I suffer from acid reflux. It's a nuisance to have to readjust the incline every night before going to bed. Hence the reason I needed a bed skirt that didn't move up with the adjustable bed.

We also chose an adjustable bed because I LOVE to read in bed. My favorite way to start the day is grabbing a coffee, opening the blinds on our large bedroom window and snuggling back in bed with a good book while enjoying the view of our backyard. Oftentimes I am distracted by the chirping of birds or the shenanigans of our neighborhood squirrels. We have these little tiny birds (have no clue what they are) that will chase the squirrels as they run along our fence. Who needs a television in the bedroom when nature can provide so much entertainment.

This is what I used to make it

This post contains affiliate links for your convenience so you can see what products I used or recommend to make this project. See my full disclosure policy.

Modifying a standard bed skirt is so easy because it requires no sewing. I found my grey queen size pleated bed skirt for $19.99 at Walmart. The color matched the lighter grey in our duvet cover perfectly.

No Sew Adjustable Reclining Bed Tailored Skirt Before

To modify the standard bed skirt you'll need 3/4-inch self-adhesive velcro. We used approximately 22-feet for a queen size bed. Bonus, we found ours in a clearance bin for $2 per package - the regular price was $6.

No Sew Adjustable Reclining Bed Skirt Velcro

Here's how I did it...

See what I mean when I say that the platform on the top of the adjustable base reclines and a regular skirt would lift right along with it?

No Sew Tailored Bed Skirt For Adjustable Reclining Bed

Wash and cut a standard bed skirt

First, wash the bed skirt and dry on the low heat setting. I didn't iron mine at this point - or any point for that matter and we'll talk about that further down in the post.

Remove the middle fabric of the skirt by cutting along the seam of the dust ruffle with sharp fabric scissors.

Adjustable Reclining Bed No Sew Altered Standard Bed Skirt

Reclining bed skirts come with a six-inch border around the dust ruffle that lays on top of the platform and hangs over the frame on the part that reclines. I can see that shifting around and being a total nuisance. Instead, I didn't bother with a border and secured mine with velcro.

Velcro fasteners on the bed skirt

With the wrong side of the skirt facing towards you, attach the fuzzy side of the velcro to the top edge of the bed skirt. Press firmly with your fingers for good adhesion. You may want to dab a little hot glue every so often if you find it isn't holding firmly onto the fabric.

No Sew Adjustable Reclining Bed Base With Fuzzy Velcro On Skirt

Attach the hooked side of the velcro along the top edge of the reclining base as pictured below. Press firmly with your fingers for good adhesion.

No Sew Adjustable Reclining Bed Base With Velcro Hook On Base

Starting at one corner attach the skirt and that's all there is to it. How quick and easy was that!

To iron or not to iron, that is the question

And my answer is always HELL NO! This Mama will find any excuse to avoid ironing. I used my handy portable fabric steamer and drapery tool attachment to steam out the wrinkles.

Steaming No Sew Adjustable Reclining Tailored Bed Skirt

How easy was that? And for around $25 compared to upwards of $140 for a tailored adjustable bed skirt, I couldn't be happier.

But my modified bed skirt would work for any bed with a box spring. The fact that you can just tear it off when it needs to be washed without having to lift a heavy mattress is all the motivation I need. What about you?

Whenever I post pictures of the bedroom I'm always asked about some of the elements in the room so I've included links should you be wondering too. Like the Stenciled Wall behind the bed or our 3-Panel Door Headboard. I also made the Dollar Store Birdhouses displayed on the top of the headboard and the night table is an Inexpensive Box Store Table Makeover.

If you have any questions about this no-sew bed skirt, please leave them in the comment section below or press the Contact Me button at the top of the blog to drop me an email. I love hearing from you!


Adjustable Bed No Sew Tailored Skirt With Bed Reclined

I share my projects at these inspiring link parties.

Please join me by clicking the links below to visit my friend's silk or linen inspired projects...

International Bloggers Club Silk Or Linen 2019 Projects

Will you be hosting Easter dinner or brunch? Are you like me and prefer setting the table ahead of time? I like to remove the "so where shall we sit" question as everyone gathers to the table by having assigned seating. Assigned or not, it's always nice to add a little something extra to each place setting to make guests feel welcome. This year I made charming budget-friendly French Country Easter Place Holders with Ray Dunn inspired Easter egg name cards.

Easter Place Holders Painted Pedestal Terracotta Pots

How To Make Charming French Country Place Holders


The possibilities for filling the mini flower pots are endless. Set a chocolate Easter bunny or colorful jelly beans inside for guests to enjoy after dinner. Plant a succulent, pretty hyacinth, or add votive candles for guests to take home.

Easter French Country Place Holders

But these pretty pedestal name cards don't have to be used just for Easter. I plan on using mine often for family dinners. The fun is coming up with new ideas after storing the eggs until next Easter.

Budget-Friendly DIY Easter Place Holders

If you know someone getting married, these would make such pretty wedding place cards and/or guest favors.

Easter Pedestal Style Place Holders

The list is endless how these painted mini terracotta pots with saucers and wood pedestal bases could be used.

Easter Place Holders From Dollar Store Finds

I'll fill the saucers with Easter M & M's like the one below when I set the table.

Easter Place Holders Ray Dunn Inspired Eggs

There will be eight of us for Easter dinner but unfortunately, I only had six pedestal chalkboards in my stash. Two painted terracotta flower pots and saucers will be without pedestal bases which are perfect for our grandchildren's place settings. They will less likely get knocked over then.

What you'll need to make them...

Did I mention that everything you need to make these French Country place holders can be found at the dollar store?

This post contains affiliate links for your convenience so you can see what products I used or recommend to make this project. See my full disclosure policy.

French Country Easter Place Holder Supplies

I'll find another use for the chalkboards later. They are leftover from our daughter's wedding three years ago so I'm happy to finally give them another purpose.

Materials List

Mini Terracotta Flower Pots and Saucers
Pedestal Chalkboard Stands (base only)
White Plastic Decorating Easter Eggs
E6000 Glue
Clear Packing Tape
Laser Printer
Scissors
Mod Podge
Upper Canada Chalk Paint
Raw Silk Chalk Paint
Clear Chalk Paint Wax
Easter Grass or Moss
Easter Candy (optional)

Here's how I did it...

Pedestal base assembly

First, remove the chalkboards from the pedestal bases. Glue the mini terracotta saucers onto the center of the pedestal bases with E6000 glue and set aside.

Easter Place Holders Pedestal Base Assembly

Paint Mini Terracotta Flower Pots

While the glue cures is a good time to paint the mini terracotta flower pots. First I gave them two coats of Upper Canada green chalk paint that I had on hand but you could use craft paint as well. The porous terracotta absorbed the paint quickly and they were dry to the touch in mere minutes. It didn't take long to have all eight pots finished.

DIY Easter Place Holders Painted Mini Flower Pots

To add the pretty French Country look we'll be dry brushing white paint over the green paint. I used white Raw Silk chalk paint that I had on hand but white craft paint would be fine too.

Dip just the tips of an inexpensive chip brush into the paint and offload the excess onto a paper towel so very little paint is left on the brush. With little pressure on the brush, swipe across the painted flower pots in long random brush strokes. You want the green to be visible underneath.

Paint pedestal bases

Once the glue has cured on the bases, paint the wooden pedestals and flower pot saucers with the same white paint used to dry brush the flower pots. While waiting for the paint to dry we'll move on to the Easter eggs nameplates.

How to make clear decals for the Easter eggs

Would you believe the Ray Dunn inspired typography on the eggs are actually DIY decals? I had been itching to try a new to me image transfer technique using packing tape. They are so quick and easy to make and now I want to go around the house and decal all our glass containers!

Step 1:

I went over to PicMonkey to create a graphic with everyone's name. I sized the graphic for letter size 850 x 1100 paper and used the Amatic font sized at 150 pt. I couldn't decide whether to label the eggs in black ink or a similar green to the flower pots so I made each name in both.

Next, print the graphic on regular bond paper using a laser printer ONLY. Let the ink dry for a few minutes before moving on to the next step.

Step 2:

Place packing tape over the names and overlap the tape slightly on each row of tape. Rub a credit card or brayer over the tape for a tight bond to the paper. Cut out each name close to the letters. I decided to use the black ones.

Easter Place Holders DIY Name Decals

Step 3:

Fill a small bowl with warm water and soak your tape covered labels for a few minutes. With your fingers rub the paper away from the back of the tape. Tada, now you have clear decals!

Lay the decals tape side up to dry on a paper towel.

Easter Place Holders DIY Clear Decals

Step 4:

Brush Mod Podge on white plastic Easter eggs from the dollar store. You could use hard boiled eggs but I wouldn't suggest blown eggs because they may be too delicate for the pressure to rub on the decals.

Place the clear decal over the Mod Podge and rub with your finger to get a good bond with the egg.

Step 5:

Once dry, brush a coat of Mod Podge over the decal and let dry. Repeat another coat of Mod Podge if necessary.


Pedestal flower pot place holder assembly

Now that the painted flower pots are dry, glue them onto the center of the saucers with E6000 glue.

Once the glue is totally cured, protect the paint on the place holders with clear wax and buff to a matte finish.

When setting your Easter table, fill the flower pots with Easter grass or moss. Add your Ray Dunn inspired Easter egg place cards in the French Country Easter place holders and fill the saucers with Easter treats.

Six Pedestal French Country Easter Place Holders

So what do you think? Would you make these French Country pedestal flower pots for your Easter table or use them for another purpose?

Here are a couple more ideas to dress up your Easter table. I made this Whimsical Easter Centerpiece with fun chair spindle carrots and speckled colored eggs. I always have these Spring Burlap Cutlery Holders on our Easter Table. They are also wonderful to have on a buffet table.

Charming French Country Easter Place Holders

DIY French Country Easter Place Holders

For more Easter OR Spring inspiration visit my Spring|Easter page.

If you have any questions about this makeover, please leave them in the comment section below or press the Contact Me button at the top of the blog to drop me an email. I love hearing from you!

I share my projects at these inspiring link parties.


Hello everyone, how's the weather in your neck of the woods? Here, one day the convertible tops are down and the flip flops adorn our feet and the next day we've bundled in winter woolies again. Woke up to frost this morning. Hope it warms up this weekend because I'm planning an outdoor Easter egg hunt for our 4-year old grandson.


Wishing you all a sunny and Happy Easter! In the meantime, enjoy our wonderful features from last week's party.


Welcome back to Talk of the Town!
Talk of the Town link party
First, let's take a look at what you may have missed from your party hosts!

last week on Knick of Time
last week on mrl

last week on Interior Frugalista

Here's what we're talking about from last week's party!


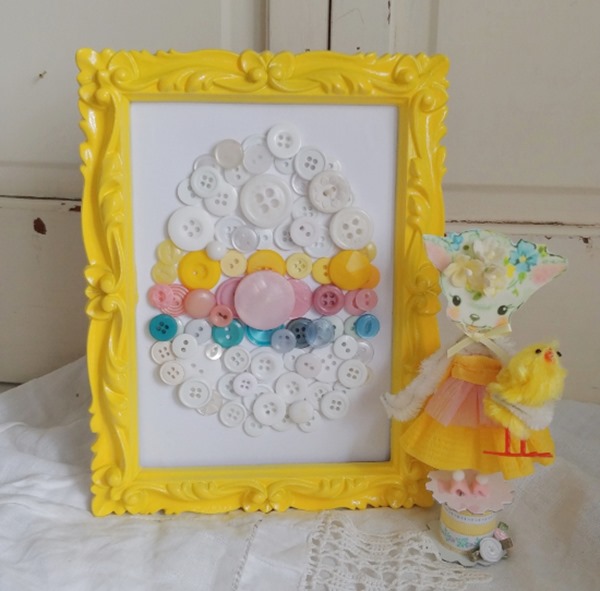
Easter Button Egg Small
A Button Easter Egg  Little Vintage Cottage
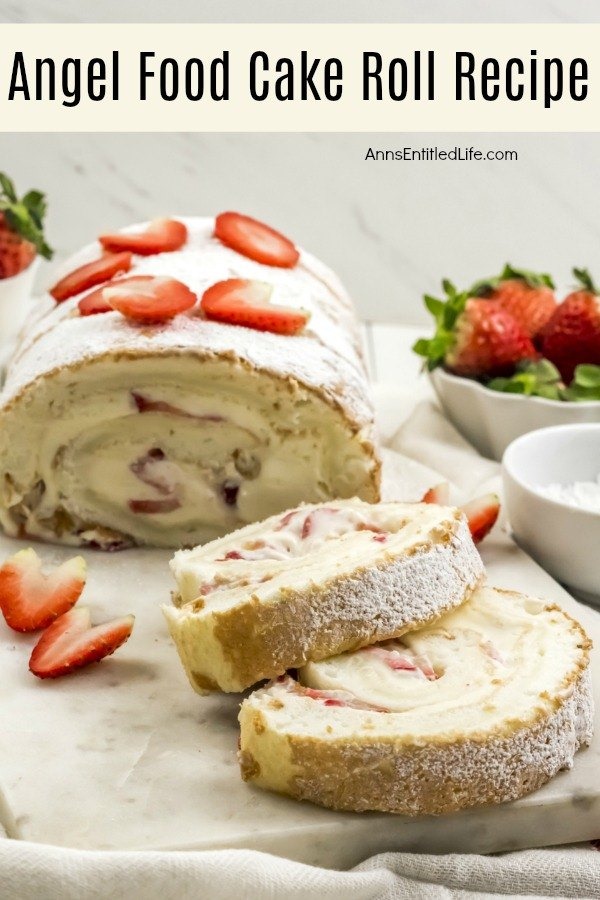
angel-food-cake-roll-recipe-vertical
Angel Food Cake Roll Ann’s Entitled Life

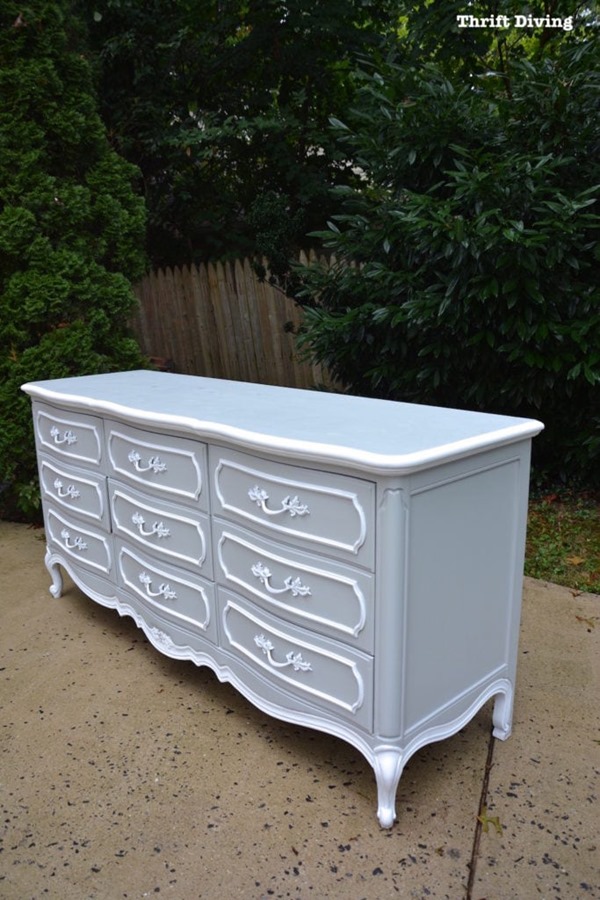
DIY-Dresser-Makeover-French-Provincial
French Provincial Dresser Makeover Thrift Diving
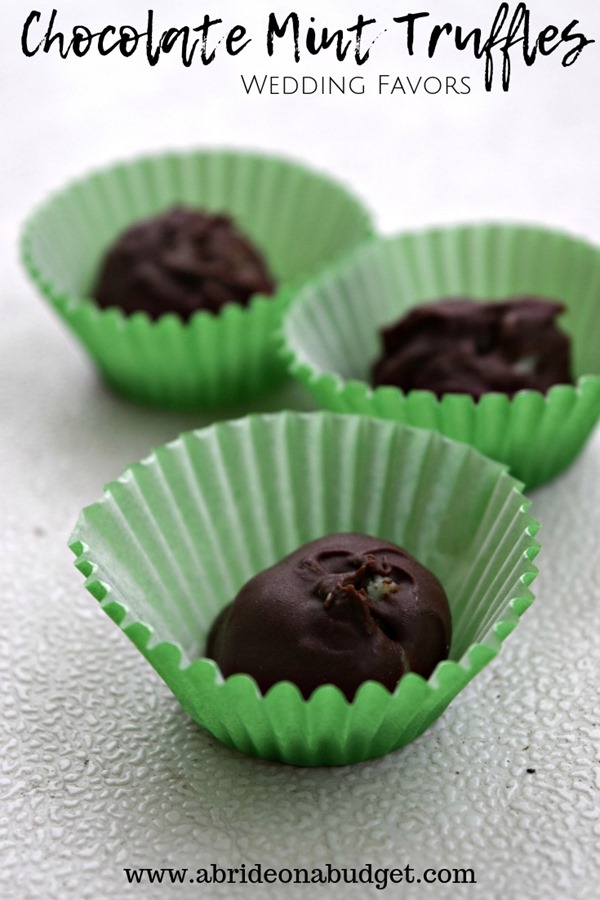
chocolate-mint-truffles-recipe-image
Chocolate Mint Truffles A Bride on a Budget

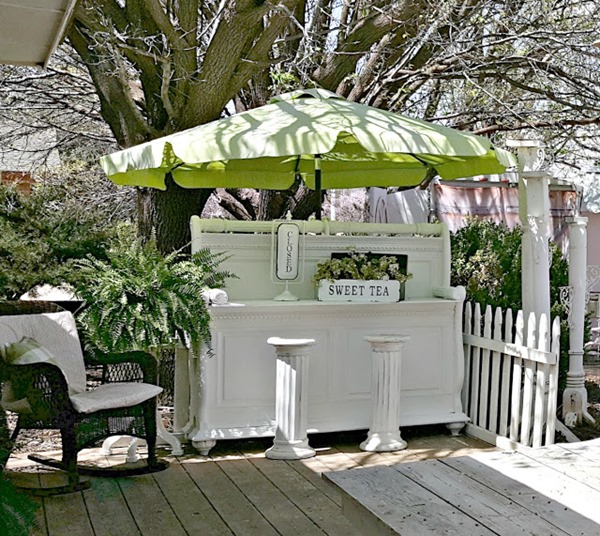
beverage bar from a repurposed sleigh bed
SLOW-COOKER-Chocolate-Mint-Cake
Crockpot Chocolate Mint Cake Spaceships and Laserbeams
PLEASE NOTE – There are now *2* separate link ups; the first is for DIY/Vintage/Repurposed links and the second for recipes. Thank you!
By linking up at Talk of the Town, you agree that your photos may be used to promote the party, or in other round-ups.
***Please keep in mind that linking up with stock photography or using photos without express permission by the photo owner is not allowed. Links of stock photography or photos that are not owned by you will be removed without notification.***
TotT Something to talk about
DIY Links
You are invited to the Inlinkz link party!
Click here to enter


Recipe Links
You are invited to the Inlinkz link party!
Click here to enter


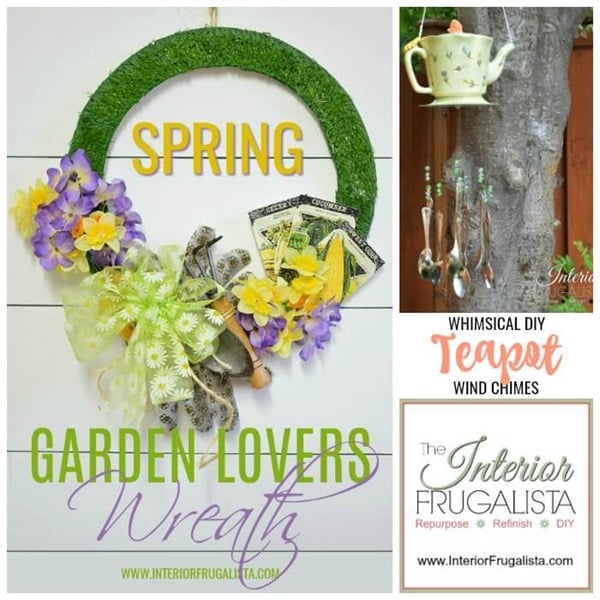
Are you one of those people itching to head outdoors this time of year to play in some dirt? If so, are you a veggie gardener or are flower gardens more your thing? I haven't mastered either but that doesn't stop me from trying. Whatever your preference, this easy Spring Garden Lovers Wreath has the gardener in mind.

What makes this gardeners wreath unique is that it has that I've been digging in the dirt look. No squeaky clean garden tools were used in the making of this wreath.

Spring Garden Lovers Wreath

Easy Spring Garden Lovers Wreath


Oh, and did I mention that almost everything you need to make this budget-friendly wreath can be found at the dollar store. You can dirty it up or keep it clean - the choice is all yours.

Garden Lovers Wreath For Spring

As you can see I made the wreath with the veggie gardener in mind but you could easily add vintage floral ephemera instead. 

Garden Lovers Spring Wreath With Vintage Seed Packets

At a cost of around $13 for supplies, I'd say the dollar store finds for making this Spring wreath is a budget-friendly alternative to a readymade wreath.

Garden Lovers Wreath

Here's how I did it...

These are some of the supplies I used to make the wreath. This post contains affiliate links for your convenience so you can see what products I used or recommend to make this project. See my full disclosure policy.

DIY Spring Garden Lovers Wreath Supplies

The grass is always greener wreath form

First I stained the back of the 12-inch MDF wreath form with Bayou Moss gel stain to give it a finished look. This step is completely optional.

Garden Lovers Wreath Form Stained Moss Green

I used self-adhesive faux grass tiles on the front of the wreath form. Set the wreath form on the backing paper side of the faux grass and trace with a pencil. You'll notice in the photo below that I cut the grass in sections. That's only because I had a partial grass tile leftover from another project and used what was left.

TIP: Cut the faux grass on the generous side of the pencil marks.

Peel the backing paper as you work and add a dab of hot glue every so often for extra adhesion.

Garden Lovers Wreath Form With Faux Grass

To conceal any bald spots in the grass and cover the inner and outer edges of the wreath form I used Kelly Green craft paint. You could paint the back of the wreath form this color too instead of stain like I did.

Garden Lovers Wreath Touch Up Paint

Add some age to those brand new garden tools

Like I mentioned at the top of this post, I want an imperfect wreath that looks like it was embellished with used garden tools. That meant aging and dirtying up the brand new house plant garden tools.

Starting with the wooden handles, I removed the glossy finish with 150 grit sandpaper and aged them by rubbing dark wax into the wood. You can see the difference between the sanded handle on the trowel and the dark waxed one on the fork in the photo below.

Garden Lovers Wreath Aged Garden Tool Handles

The black shiny finish on the metal parts of the garden tools was too new and pristine looking. I dulled the finish by painting them with blackened bronze metallic paint. Once that was dry, I randomly dabbed in a pouncing motion silver metallic paint with an art brush.

To give the tools a galvanized metal appearance I mixed a drop each of the bronze and silver metallic paint on a paper plate and dabbed it randomly as well. But I didn't stop there - those tools needed some dirt!

Garden Lovers Wreath With Faux Aged Garden Tools

Get some dirt on those garden tools

Have you ever made fake dirt? Brush white school glue along the bottom of the garden tools and sprinkle the grounds from your morning coffee over the glue. Ta-da, instant fake dirt (pictured above).

While the dirt was drying I made a bow for the wreath with a spool of 1 1/2 inch floral ribbon from the dollar store. I can't make a decent freehand bow if my life depended on it so I cheat by using this bow maker tool.

The well-used garden gloves

The brand new garden gloves just wouldn't do so I slipped them on my hands and played in some dirt so they looked like they've planted a few veggies.

Vintage vegetable seed packets

A garden lovers wreath wouldn't be complete without some seed packets. I found these vintage vegetable seed packets printable on Etsy.

Gardeners Wreath With Vintage Seed Packets

But first before printing them I aged a sheet of watercolor paper (bond or card stock is fine too) by brushing layers of cooled but well-steeped black tea.
To make this wreath you need to enjoy a morning coffee and afternoon tea!
Once the tea stained paper is completely dry, print the seed packets and cut three out for the wreath.


Spring daffodils and purple pansies  

Cut the stems off each of the dollar store floral picks. Divide the daffodils and pansies equally into two small bunches and wrap with florist wire.

Spring Garden Wreath Faux Daffodils And Pansies

Layer the wreath embellishments

Layer One - Garden Gloves: Starting with the dirty garden gloves attach them onto the wreath with jute twine with the fingers fanned and pointing up (pictured below).

Spring Wreath Dirty Garden Gloves Embellishment

Layer Two - Garden Tools: attach the aged garden trowel and rake on top of the gloves and secure with jute twine. Don't worry about cutting the tails of the twine as we'll have them trail down the wreath.

Layer Three - Faux Florals: attach one bundle of faux daffodils and pansies with florist wire tucking the stems just under the cuff of the garden gloves. Attach the second bundle with the stems tucked just under the fingers of the garden gloves.

Layer Four - Large Bow: attach the floral bow over the cuff of the garden gloves so it hides where the flower stems and gloves were tied onto the wreath.

Layer Five - Vintage Seed Packets: attach the three vintage seed packets with dabs of hot glue on the opposite side tucking them just under the top of the flowers.

Spring Garden Lovers Wreath Embellishments

To hang the wreath make a hanger by forming a small piece of jute twine into a loop and hot glue onto the back of the wreath.

What you'll need to make this...

Dollar store supplies:
12-inch MDF Floral Craft Ring Wreath Form
House Plant Garden Tools
1 1/2 Inch Floral Ribbon
Natural Jute Twine
Green Florist Wire
Faux Yellow Daffodils and Purple Pansies
Self-Adhesive Grass Tile
Garden Gloves
White School Glue
Kelly Green Craft Paint
Silver Metallic Paint

Other supplies: (some you may find at the dollar store)
Vintage Seed Packets (alternatives)
Bow Maker Tool (optional)
Coffee Grounds
Black Steeped Tea
Dark Wax
Craft Hot Glue Gun
Silver Metallic Paint
Blackened Bronze Metallic Surfacer
Bayou Moss Gel Stain (optional)

Easy And Budget-Friendly Spring Garden Lovers Wreath

So which would be your preference; the keeping it clean OR I've been digging in the dirt version?

If you have any questions about this wreath, please leave them in the comment section below or press the Contact Me button at the top of the blog to drop me an email. I love hearing from you!

I enjoy making wreaths for each new season rather than readymade options because the possibilities for creative embellishments are endless. Aside from the front door, I love hanging them on mirrors and interior doors. I made this DIY Birdhouse Wreath and have it hung on the mirror in our front entry for both Spring and Summer.

For more DIY wreath ideas visit my Wreaths For Every Season board on Pinterest. For DIY Spring decor ideas visit my Spring|Easter page.

Garden Lovers Wreath For Spring


I share my projects at these inspiring link parties.