Did you know you can make brand new wood look like its been aging naturally for years? And the best part is that what you need to do it can be found in your pantry! It's an easy technique and you can watch the aging process happen before your very eyes. In this post, I'll show you how to age new wood with stuff from your kitchen in two different ways.

I'm often asked this question when I've used this technique in projects posted on the blog. Instead of repeating the instructions every time I use it, I thought it would be easier for you guys to find the instructions in one dedicated tutorial post.

How To Age New Wood With Stuff From Your Kitchen

How To Age New Wood With Stuff From Your Kitchen


I should point out that the resulting patina will vary depending on the type of wood.

Aging New With Pantry Goods Solution


Age New Wood With Tea And Vinegar Solution


Wood Aging Solution Recipe:

  • Use a container with a lid like a large plastic food container.
  • Fill the container 3/4 full with White Vinegar or Apple Cider Vinegar (my preference).
  • Submerge a large piece of #0000 gauge steel wool into the vinegar and close the lid.
  • Let it steep for a minimum of 12 hours (I prefer a week). The longer the solution steeps and disintegrates the steel wool, the darker the stain. 
  • When the aging solution is ready to use, run it through a strainer into a clean mason jar or glass jar with lid. 

Wood Aging Instructions - Step 1

  • Brew a pot of black tea. My preference is Earl Grey because no sense wasting it all on wood.
  • Steep the tea for at least 30 minutes to an hour.
  • Pour the black tea through a strainer if you used loose tea.
  • Brush the tea onto bare wood with an inexpensive chip brush and let dry completely.

Wood Aging Instructions - Step 2:

  • Wear rubber gloves because not only will it stain your fingers but the smell will stay on your hands for days. Ask me how I know.
  • Brush the aging solution onto the tea stained wood with an inexpensive chip brush.
  • Let it dry between coats.
  • Repeat with as many coats required to get the aged patina of your liking.

How it works:

The acid from the vinegar reacts to the tannins in the wood and essentially provides an acid wash stain that creates that lovely aged patina.

You can see how it worked on the Rustic Wood Wedding Card Caddy below. This is the wood caddy before staining...

Aging New Wood With Pantry Goods Before

...and after staining with the vinegar and tea aging solution. Again the patina will be different depending on the type of wood you use.

Aging New Wood With Pantry Goods After

Aging New Wood With Pantry Items Supplies

Age New Wood Without Tea

The recipe is the same as the one above but skipping the black tea step. It really comes down to personal preference. I suggest you try both methods on a sample board of whatever type of wood you'll be using for your project.

In this example using lumber for our Large Rustic Plank Wood Clock project, instead of applying the aging solution with a chip brush, I applied it with the steel wool remaining in the container.

Aging New Wood With Pantry Items Steel Wool Application

In the photo below you can see the difference between the treated and untreated wood. You'll notice the aged patina is lighter without the black tea.

Aging New Wood With Pantry Items Before And After

I hope you found this tutorial helpful. If you have any questions, please don't hesitate to ask in the comment section below or press the Contact Me button at the top of the blog to drop me an email. I love hearing from you!

How To Age New Wood With Pantry Goods

I share my projects at these inspiring link parties.


Welcome friends, so glad you could join us this week. The polar vortex has not left the building and quite frankly I'm downright sick of temps in the -30℃ (-22℉) range. Those of you still in it, let's cry together 😢

I'm going to be MIA from the party next week but you can still link up with one of my sweet co-hosts.  💝 Happy Valentine's Day 💝


Talk Of The Town Party 161 Features

Welcome back to Talk of the Town!
First, let's take a look at what you may have missed from your party hosts!


Last Week At Interior Frugalista ToTT 161
Here's what we're talking about from last week's party!

Chicken Tortilla Soup - CincyShopper

My 10 Best Fairy Gardens - Penny's Vintage Home

Heart In Hand Pies - StoneGable

Now, it's your turn!
PLEASE NOTE – There are now *2* separate link ups; the first is for DIY/Vintage/Repurposed links and the second for recipes. Thank you!
By linking up at Talk of the Town, you agree that your photos may be used to promote the party, or in other round-ups.
***Please keep in mind that linking up with stock photography or using photos without express permission by the photo owner is not allowed. Links of stock photography or photos that are not owned by you will be removed without notification.***
TotT Something to talk about
DIY|Vintage|Repurposed Links

Recipe Links

Every home could use a tray or two, right? Oftentimes they come with a hefty price tag but there's a budget-friendly option. Umbra photo trays found at the thrift store make the perfect year-round tray to use for every new season or holiday. By simply changing what's displayed under the glass, ONE tray becomes the quick change artist seasonal ottoman tray!

Seasonal Ottoman Tray With Fabric For Valentines Day

The Quick Change Artist Seasonal Ottoman Tray


Like my upcycled Umbra tray that I'm currently using to decorate for Valentine's Day. Painted a neutral white, it works with every color, pattern, and style of embellishment placed under the glass year-round.

When you live in a small home like I do, giving home decor a multi-purpose is key to avoid having to store it during the off-season. I do the same thing with seasonal pillows. I keep one size pillow forms and change out the pillow covers ONLY for the seasons like I did with these Holiday Ornament Pillows.

The red and white heart fabric I used to decorate the tray for Valentine's Day may look familiar because last week I shared how I used some of the fleece remnants to make an easy Fleece Valentine Heart Pillow.

Seasonal Ottoman Tray Fleece Fabric Remnant

The possibilities are endless to change what's displayed under the glass of the tray. You could use fabric like I did or scrapbook paper, wrapping paper, wallpaper, napkins, doilies...well you get the picture.

Seasonal Ottoman Tray Lined With Fabric For Valentines

This is what the Umbra wooden tray looked like before...
Seasonal Photo Frame Umbra Ottoman Tray Before
I've seen these particular trays often at thrift stores. In fact, a few years ago I upcycled an identical one with scrapbook paper and typography, turning it into a Coffee Tray With Rustic Charm.


Here's how I did it...


Step 1 - Prep tray for paint

There are a few things that need to be done first before we paint the tray. First, remove the backing and the wood photo mat (which we will not be using).

Unfortunately, oftentimes the glass can't be removed because it's glued down so I recommend running a piece of painter's tape along the edge of the glass.

With 150 grit sandpaper lightly sand the wood to rough up the glossy finish. Because of the dark cherry stained finish, you are guaranteed to get some paint bleed where the tannins in the wood bleed through the paint. For this reason, it's important to prime the tray first.

Seasonal Thrift Store Ottoman Tray Primed

Step 2 - Paint the tray

Now the tray is ready to be painted with neutral white chalk paint. Note, if you notice pink spots coming through the paint then you'll need to add another coat of primer.

Seasonal Thrift Store Ottoman Tray Painted White

Once the last coat of chalk paint is dry, lightly sand along the edges with 220 grit sandpaper for a distressed finish like pictured below.

Seasonal Ottoman Tray With Distressed Finish

Protect the paint with either clear wax or a clear top coat. Depending on how much use the tray will get, I would suggest the later. Although having said that  I, on the other hand, used white wax to protect my tray.

Seasonal Ottoman Tray Painted And Waxed White


Step 3 - Add the pretty under glass

Now we're ready to replace the photo paper that came with the tray with pretty seasonal scrapbook paper, wrapping paper, wallpaper, fabric, and the list goes on. The possibilities are endless.

For my Valentine heart fleece, all I did was wrap it around a piece of cardboard cut to size and taped it onto the back. Easy peasy!

Step 4 - Assemble the tray

Clean the glass inside and out, scraping any paint splatters with a scraper knife. Make sure the glass is completely dry before inserting your pretty paper or fabric. Assemble the frame and you're done.

Seasonal Ottoman Tray With Fabric And Chalk Paint

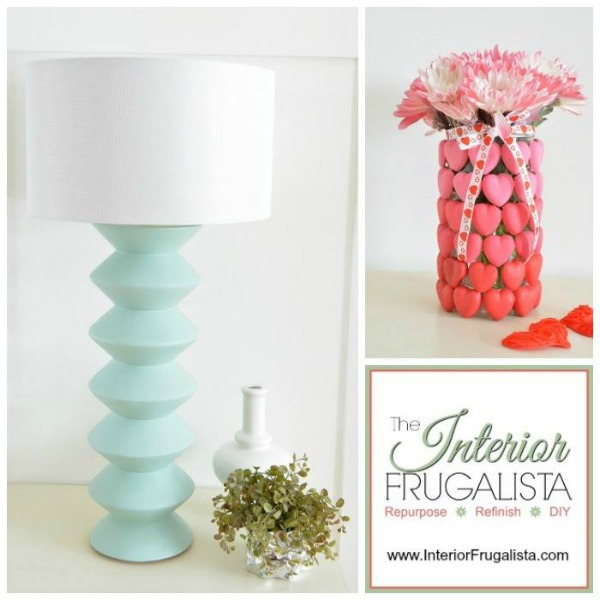
If anyone is wondering about the Ombre Valentine Flower Vase on the end table in each of these photos, it was such an easy craft made with mod melts and a glass cylinder from the dollar store.

For this project you will need...

This post contains affiliate links for your convenience so you can see what products I used or recommend to make this project. See my full disclosure policy.

Photo Frame
Fabric or Seasonal Paper
150 grit and 220 grit Sandpaper
Primer
White Chalk Paint
White Wax or Clear Top Coat


I have a fetish for trays and have a stack of them waiting for makeovers. I've upcycled many over the years and if you'd like more inspiration, visit my Trays & Tiered Cake Stands page.

If you have any questions about this makeover, please leave them in the comment section below or press the Contact Me button at the top of the blog to drop me an email. I love hearing from you!

The Quick Change Artist Seasonal Ottoman Tray

I share my projects at these inspiring link parties.

A lot of us have been there. You need an end table but you're on a tight budget so you head over to the big box store and grab one in a box for under $50. Such was the case with this dark espresso table after rearranging a room in our house several years ago. But what about instead of making due until the budget can accommodate a more expensive table, you make that cheap box store table look like you paid big bucks?

That's what I did when moving the table from the living room to the master bedroom. Too cheap to buy a more expensive one, I transformed that box store table with chalk paint, some scrapbook paper, and a little creativity and I'm going to show you how.

How To Make A Box Store Table Look Expensive

How To Make A Box Store Table Look Expensive


This post first appeared on The Interior Frugalista in June 2015. The post has been updated and reshared for those of you who missed it the first time.

Before we get into the makeover this is what the table looked like before...

Inexpensive Box Store Table Before

Remember the espresso rage a few years back? In my home staging days, this color was so popular and we used it often.

The height is perfect to use as a tall night table, especially for someone who likes to read and have the light cast down. The small drawer is very handy to have too.

Not one to do matchy-matchy, you can see what we used for a nightstand on the opposite side of the bed in my Small Mid-Century Modern Cabinet post. A legless relic that had seen it's better days but now looks amazing with its metallic grey finish and curvy legs.

Inexpensive Box Store Table After Makeover

Here's what we did to the inexpensive box store table


Before you begin

Before you begin putting paintbrush to paint you should read my tutorial on How To Prep Furniture For Chalk Paint first because you may or may not need to prime.

Step 1 - Fresh Paint

The entire table was painted with Annie Sloan Chalk Paint for a beautiful matte finish. The top painted Duck Egg Blue that plays well with the Benjamin Moore Wedgewood Gray HC-146 wall color.

Box Store Table Top Painted Duck Egg Blue

The base of the table was painted Pure White to play off the other white elements in the room like our DIY Master Bedroom Built-In Window Seat.

For a shabby chic finish, the table was lightly distressed along the edges and the paint is protected with clear wax and buffed to a matte sheen.

Inexpensive Box Store Table Makeover With Chalk Paint

Step 2 - Gold Dipped Legs

To add more visual interest and echo the gold in the French carte postale bedding, the legs were given a hand-dipped look with gold metallic gilding wax and delicate surface frog tape. Striving for a shabby chic finish, the gold was hand buffed to make the feet look worn.

Inexpensive Box Store Table Gold Dipped Legs

While I was at it I rubbed more gold gilding wax with my finger along the edge of the top, not being fussy about covering the duck egg blue.

Inexpensive Box Store Table Top Edge Gilded Gold

Step 3 - Stenciled Bottom Shelf

It's all about the details, right? A gold flower burst was stenciled in the center of the bottom shelf with the gold gilding wax. Yes, you can stencil with metallic wax but the trick is having very little wax on the stencil brush.

Inexpensive Box Store Table Stenciled Bottom Shelf

Step 4 - Make The Drawer Pretty Too

Don't forget to make the drawer pretty too! The inside of the drawer is painted duck egg blue and lined with pretty scrapbook paper that I had in my stash and decoupaged with Mod Podge.

Inexpensive Box Store Table Decoupaged Drawer

Step 5 - Replace The Knob

Replacing the hardware is like adding pretty jewelry to the little black dress. The original wood knob was replaced with this pretty white ceramic gold polka dot knob that echoes the petals on the stencil below.

Inexpensive Box Store Table New Ceramic Knob


I've included affiliate links below so you can see what products I used or recommend for this furniture makeover. See my disclosure policy.


Big difference, right between the before and after? If you were to purchase a shabby chic table like this retail you would expect to pay at least $150.

I hope this makeover has inspired you to transform those inexpensive furniture pieces that came in a box. Like my table, it may not have fancy dovetail joints and be made of solid wood BUT it's a very functional table and looks pretty darn cute after given a fresh new look.

Whenever I share photos of our master bedroom I'm often asked about the wallpaper. Guess what? It isn't wallpaper! I stenciled the wall and you can see how I did it in my 12 Helpful Tips On How To Stencil A Wall post.

I'm also asked about the headboard. We built it from a salvaged 5-panel door and you can see how we made it in my How To Turn An Old Door Into A Headboard post.

Even the birdhouses sitting on the headboard are dollar store finds that I upcycled for the room. To see how I did it visit my Easy DIY Spring Vignette Birdhouses For Under $5 post.

How To Make A Box Store Table Look Expensive

If you have any questions about this makeover, please leave them in the comment section below or press the Contact Me button at the top of the blog to drop me an email. I love hearing from you!


I share my projects at these inspiring link parties.

I thought we were spared from the polar vortex here in the west but no such luck. We hit -28℃ (-18.4℉) yesterday an there doesn't seem to be a warm-up coming anytime soon. Stay warm and safe those of you going through the deep freeze! Here are our lovely features from last week's party.


Welcome back to Talk of the Town
First, let's take a look at what you may have missed from your party hosts!


Last week at My Repurposed Life

Last week at Interior Frugalista
Here's what we're talking about from last week's party!
DIY Valentine’s Day Candy Jars
Conversation Heart Cookies
Conversation Heart Cookies - 5 Minutes for Mom


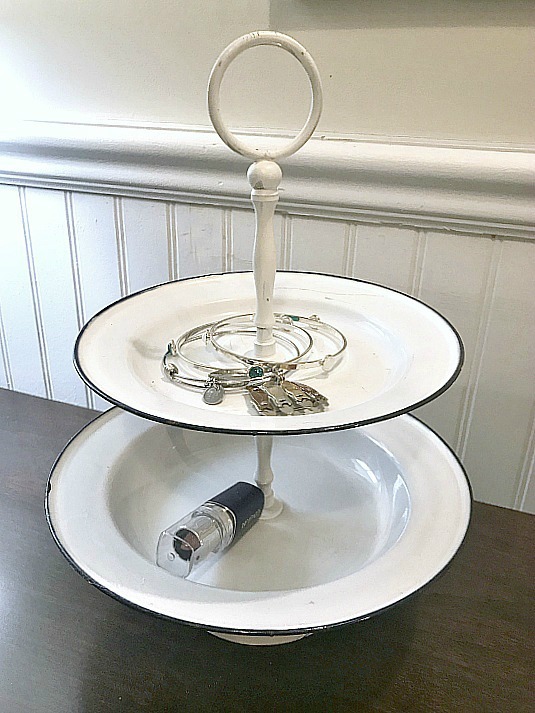
DIY Enamelware Tiered Tray
Reese’s Chocolate Peanut Butter Hearts

How To Make Handmade Candles With Oyster Shells
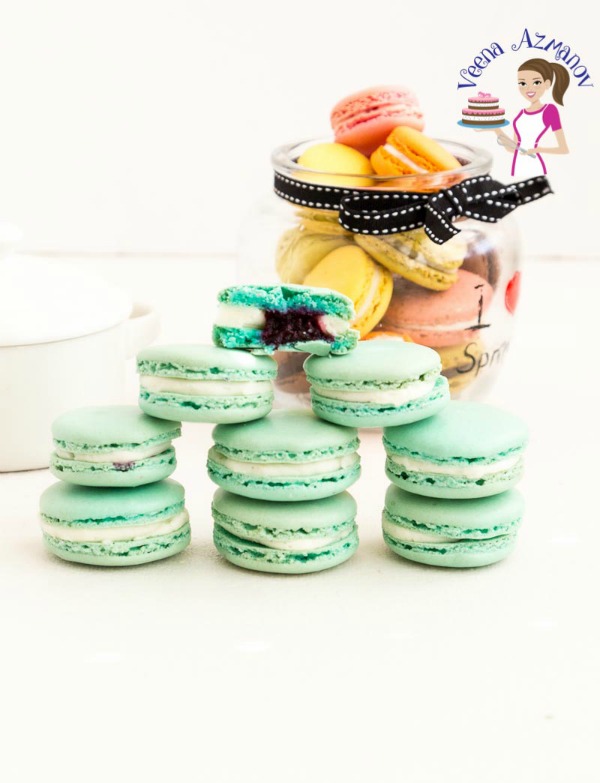
Blueberry Macarons with Blueberry Filling and Swiss Meringue
Now, it's your turn!
PLEASE NOTE – There are now *2* separate link ups; the first is for DIY/Vintage/Repurposed links and the second for Recipe Links. Thank you!

By linking up at Talk of the Town, you agree that your photos may be used to promote the party, or in other round-ups.
***Please keep in mind that linking up with stock photography or using photos without express permission by the photo owner is not allowed. Links of stock photography or photos that are not owned by you will be removed without notification.***

TotT Something to talk about

DIY|Vintage|Repurposed Links


Recipe Links