Do you save your old sweaters that are too worn for the donation bin? I do and have a tub that I've been saving to use for craft projects or making pillows one day. That one day is today but instead of pillows, I turned three into festive recycled sweater ornaments and they are so easy to make!

I have a lot of the red and grey sweater leftover so I think I'll make that pillow after all. It'll look lovely in the living room with the ornaments. But more about that project another day.
Welcome to Day 6 of the Fourth Annual 12 Days of Christmas Series!

GO HERE for the complete list of Dates and Topics plus a collection of most popular holiday ideas including ornaments, games, recipes and more from all 50 plus talented bloggers!
3 Unique Festive Recycled Sweater Ornaments
I have a lot of the red and grey sweater leftover so I think I'll make that pillow after all. It'll look lovely in the living room with the ornaments. But more about that project another day.
Welcome to Day 6 of the Fourth Annual 12 Days of Christmas Series!
We have teamed up with 50 plus bloggers to bring you a oodles of DIY Ideas and Recipes to make your holiday season merrier. There are 12 different posts in the series and we have spread them out over a four week period with three posts per week. Now is the time to subscribe!
GO HERE for the complete list of Dates and Topics plus a collection of most popular holiday ideas including ornaments, games, recipes and more from all 50 plus talented bloggers!
It's Day 6 and we are sharing DIY Ornament Ideas!
Here is a recap of the previous days if you missed any:
Day One: DIY Wreath Ideas (I didn't participate)
Day Two: DIY Gift Ideas - A DIY Basket For That Special Holiday Hostess Gift
Day Three: DIY Christmas Countdown Calendar - Christmas Countdown Santa Cottage
Day Four: DIY Kid's Crafts - Easy Snowflake Craft To Make With Your Grandkids
Day Five: Holiday Party Food - Favorite Spicy Christmas Ornament Cheeseball
These are the garments used to make the recycled sweater ornaments.

I've included affiliate links for your convenience so you can see what products I used or recommend to make these ornaments. See my disclosure policy.


These are the items used to embellish the sweater ornaments.

The instructions to make all three ornaments are pretty much the same except for minor adjustments to both the plaid and red & grey ornaments. We'll discuss those later in the post but these are the instructions for the basic assembly of the ornaments.


Tuck a sprig of faux flocked evergreen with small pine cone inside the eyelet pocket and hot glue in place.

Make a small bow with 3/8-inch plaid ribbon and hot glue on the top of the ornament.


We want them to hang on the bottom of the ornament (pictured below).

When trimming the extra fabric around the embroidery hoop, keep the fringe that was cut off on both sides.

Glue the salvaged fringe to the back of the embroidery hoop. This adds a nice fringe detail to the plaid ornament.

Hot glue a sprig of faux flocked evergreens to the top of the ornament with three red berries.
That's it! They are so quick and easy to make and I had all three finished within 15 minutes. They don't have to be hung on the Christmas tree. I made six and have them hanging on three tall grapevine screens on a wall in my living room. They look lovely!


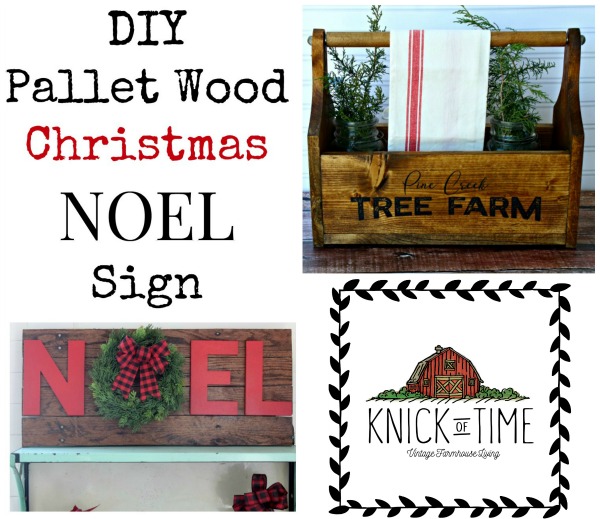
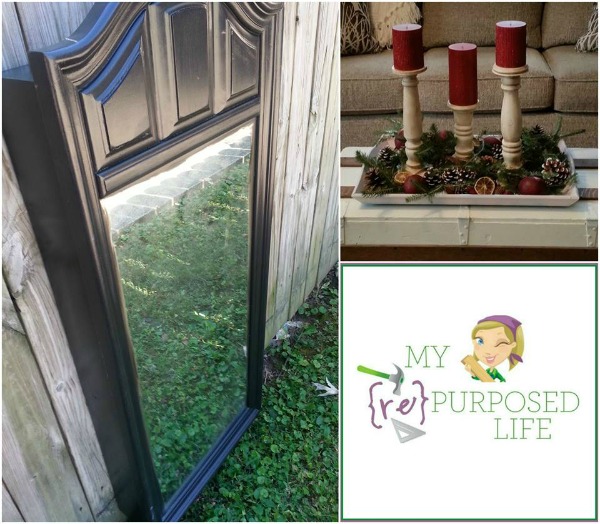
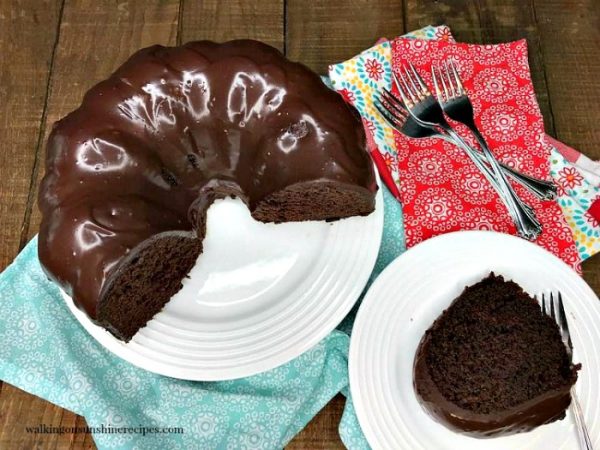
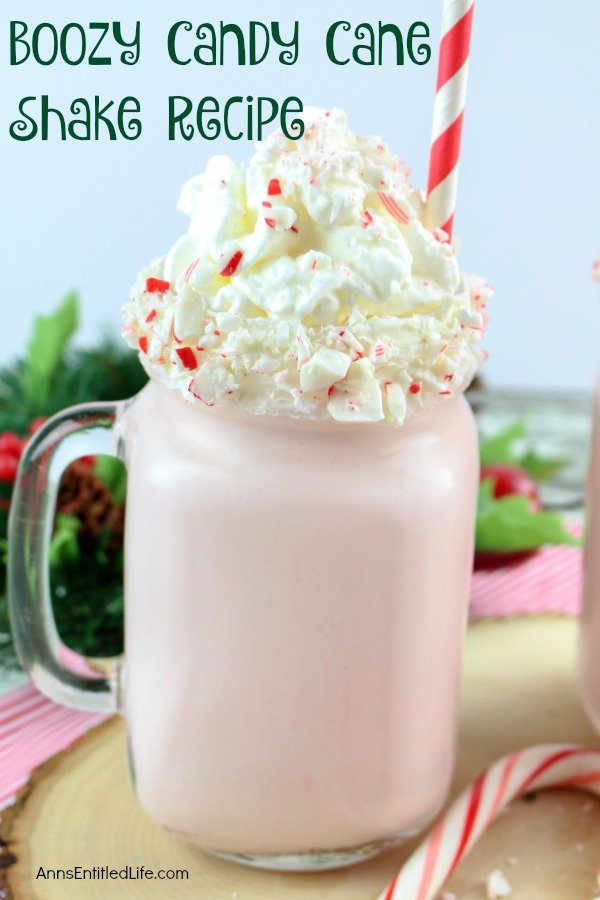
Scroll down for many more DIY Ornament Ideas for your holiday season!
I share my projects at these inspiring link parties.
Here is a recap of the previous days if you missed any:
Day One: DIY Wreath Ideas (I didn't participate)
Day Two: DIY Gift Ideas - A DIY Basket For That Special Holiday Hostess Gift
Day Three: DIY Christmas Countdown Calendar - Christmas Countdown Santa Cottage
Day Four: DIY Kid's Crafts - Easy Snowflake Craft To Make With Your Grandkids
Day Five: Holiday Party Food - Favorite Spicy Christmas Ornament Cheeseball
These are the garments used to make the recycled sweater ornaments.
I've included affiliate links for your convenience so you can see what products I used or recommend to make these ornaments. See my disclosure policy.
To make these ornaments you will need:
- Red Knit Sweater (salvaged)
- Grey Wool Felted Sweater (salvaged)
- Plaid Scarf With Tassels (salvaged)
- 6-inch Embroidery Hoops
- Natural Jute Twine
- 3/8-inch Plaid Tartan Ribbon
- Faux Flocked Evergreen Spray
- Faux Red Berries
- Sewing Scissors
- Hot Glue Gun
Ornament 1 - Red Knit Sweater Ornament
Ornament 2 - Plaid Sweater Ornament
Ornament 3 - Red & Grey Felted Sweater Ornament
These are the items used to embellish the sweater ornaments.
The instructions to make all three ornaments are pretty much the same except for minor adjustments to both the plaid and red & grey ornaments. We'll discuss those later in the post but these are the instructions for the basic assembly of the ornaments.
Sweater Ornament Instructions
- Cut salvaged sweaters in squares about 1-inch larger than the embroidery hoop.
- Lay the fabric, good side facing up, over the inner ring of the embroidery hoop.
- Line up the pattern so it's straight.
- Fit the outer hoop over the inner ring.
- Pull the fabric taut.
- Tighten the embroidery hoop screw.
- Pull the excess fabric over and tuck it into the inside of the hoop.
- Run a bead of hot glue to secure in place.
- Trim the excess fabric.
- Tie jute twine around the embroidery hoop screw to form a 4-6 inch hanger.
Red and Grey Felted Sweater Ornament Instructions
The only difference with this ornament is that I added eyelet trim from the felted wool sweater to form a pocket on the bottom half of the ornament.Tuck a sprig of faux flocked evergreen with small pine cone inside the eyelet pocket and hot glue in place.
Make a small bow with 3/8-inch plaid ribbon and hot glue on the top of the ornament.
Plaid Sweater Ornament Instructions
When using a wool scarf for this ornament, use a section of fabric with the fringe.We want them to hang on the bottom of the ornament (pictured below).
When trimming the extra fabric around the embroidery hoop, keep the fringe that was cut off on both sides.
Glue the salvaged fringe to the back of the embroidery hoop. This adds a nice fringe detail to the plaid ornament.
Hot glue a sprig of faux flocked evergreens to the top of the ornament with three red berries.
That's it! They are so quick and easy to make and I had all three finished within 15 minutes. They don't have to be hung on the Christmas tree. I made six and have them hanging on three tall grapevine screens on a wall in my living room. They look lovely!
Scroll down for many more DIY Ornament Ideas for your holiday season!
I share my projects at these inspiring link parties.